
But that is not what this post is about. :)
I hinted in my last post about the DIY burlap canvas I was working on. It's finished and today I'll give you a little step by step so you can try your own. Or, be like me and take what you like about it and then do your own thing.
The backstory:
I'm a big fan of burlap - every itchy, beautiful thing about it. It's easy to use, can be dainty or rustic, and the neutral color works well with most decor. While it's usually pretty affordable - the kind that is stretched across, canvas style, is not. You can plan to spend upwards of $15-$25 for a good burlap canvas. Just the canvas. Enter my FIND at Michaels the other day. I found TWO of these beaut's marked down to $4.99 in the back, scary, clearance section of the store. They were originally marked at $15!
There were a few ideas I'd had about to do with them, when I remembered this little pretty I pinned on pinterest a few days earlier. This Etsy shop sells the most beautiful and simple things. I loved the old hymn quotes, etc. But... I can't spend the money to have someone make it for me. Not right now. :) So I wondered if I could just whip something up myself.

(By the way, I'm a big supporter of Etsy's everywhere!
If you can support an Etsy crafter WAY TO GO!)
So I took some time and chatted with my hubby about what we might like to look at daily. :) We agreed on a phrase from the hymn, Come Thou Fount. So here we go!
Step 1:
(You can skip this if you are the confident type)
Lay out your canvas and draw an idea of how you want it to look on the plastic, first. This was really helpful to me as I was figuring out spacing while free-handing. Eeeek!

Step 2:
Choose your paint!
I love, love, love this Behr color "Cottage White". It's just a normal creamy white and I've used it in many rooms of my home. You'll also need a paintbrush - whatever you have is fine. I would recommend a wider one though to make broad strokes.

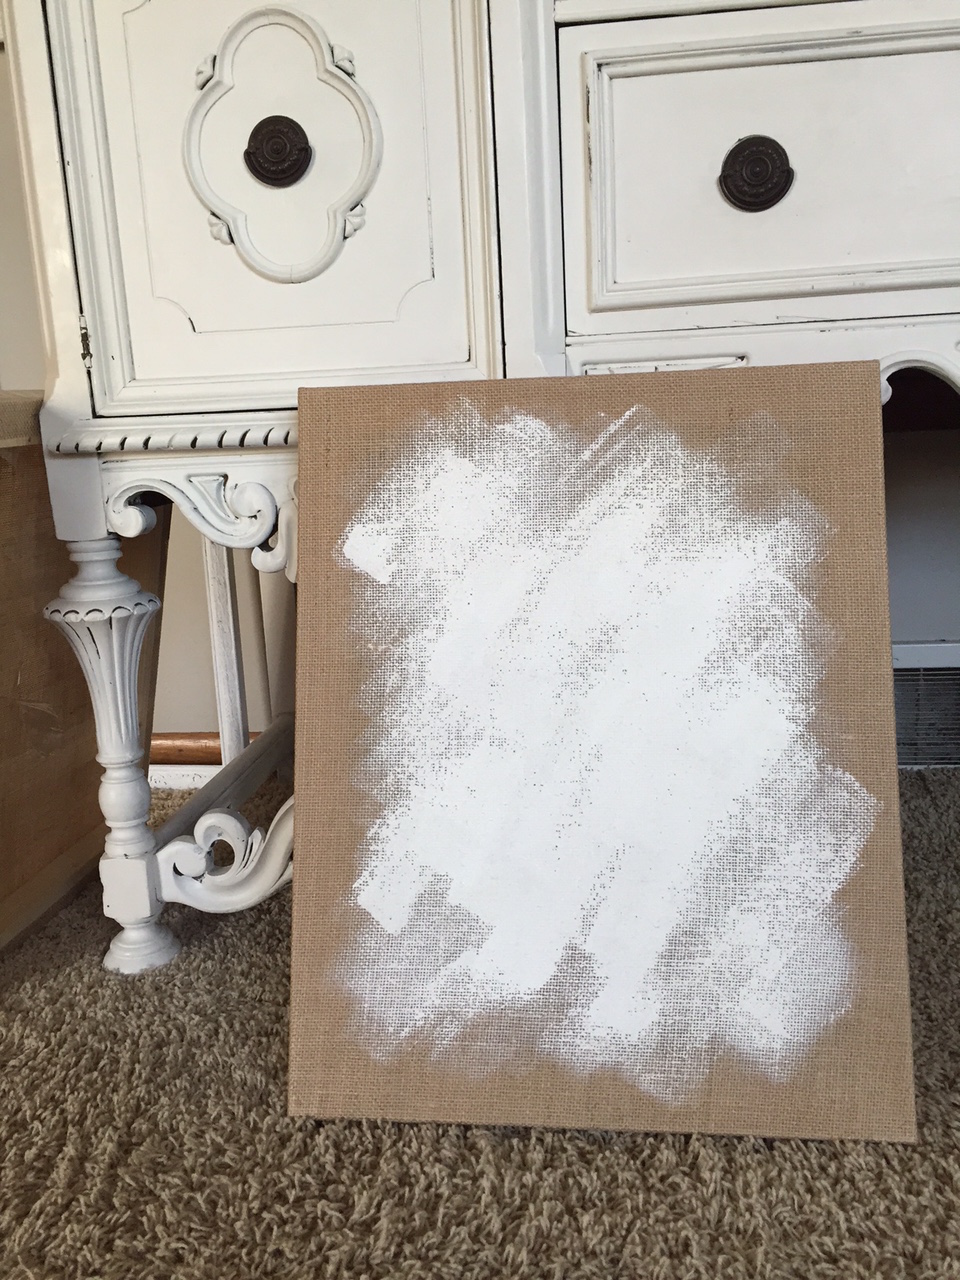
Step 3:
Make your paint strokes. Working from a diagonal - brush left to right, repeat. Cover as little or as much of the canvas as you prefer. You may have to do a few layers as it soaks into the canvas a bit. Just eye it and DON'T obsess about being perfect. Also, as you can see - and much to the chagrin of my husband - I often just get right to work on the living room floor. Might I recommend putting newspaper underneath? Just.in.case.

Step 4:
Once you have your desired amount of paint, give it a few hours or even a day to let it fully dry. Mine took a nap time - 2 hours. I was kinda in a hurry. Check on it a few times to make sure it's not absorbing and needs more. Really though, mine didn't need much help.
Step 5:
Pencil or use a small point sharpie and write on your words. Then go over it with paint, using a tiny paintbrush. Michael's sells these - I used one of my kids paint by number brushes. :) Winning!

For some of you who may stress out about this whole free handing idea... I'd encourage you to remember the beauty in imperfection. And I'd also remind you that stencils are available at most crafty type stores. {grin} I looked up font ideas and then just winged it. It's not perfect, but it's me! I'm getting pretty good at copy-catting.
Once it's dry - hang that baby up! Yep, go ahead. Make a nail hole and hang it up. Bless your family with some good ol' truth to read day after day. I know I need this reminder! Oh how our hearts need reminding!
The lighting in my front room is very low in the evenings, but, you can get the point. Someday I'd love to set this on a shelf with some greenery next to it. But for now, it's hanging out on the wall behind my reading chair and it's a pretty addition to the room.

That's it! Super easy, affordable, and pretty. I paid $4.99 for two of these canvasses and had everything else on hand. Now what to do with the second canvas...
Thanks for stopping by! I'd love to see what you come up with! Happy crafting!
2 comments:
Beautiful work! There's something so neat about making it yourself! ...and how wonderful that you all got to go to the conference!
You are so talented! Love this idea. I might have to make a trip to hobby lobby soon. You've inspired me to get crafty.
Post a Comment